
Set up SSH Login With Private Key
On Windows
Requirement:
Install OpenSSH. Please follow the instruction of this page
Change the directory to the main directory(EX:
C:\Users\{USERNAME})
Step1: Generate SSH Key Pair
| |
Step2: Create SSH Folder
| |
Step3: Copy SSH Public Key To The Remote Host
| |
Step4: Login To The Remote Host With SSH Key
| |
VSCode Config
After finishing the above instruction, type the login SSH command ssh -i ".\.ssh\{FILE NAME OF KEY}" {LOGIN USERNAME ON THE TARGET HOST}@{TARGET HOST NAME/IP} to the VSCode and VSCode will generate the following configuration automatically.
Host {CUSTOMIZED HOST NAME}
  HostName {RAMOTE HOST NAME/IP}
  IdentityFile .\.ssh\{FILE NAME OF KEY}
  User {USERNAME}
If you specify the port with option -p, there will be one more line Port {LOGIN PORT} in the configuration.
Host {CUSTOMIZED HOST NAME}
  HostName {RAMOTE HOST NAME/IP}
  IdentityFile .\.ssh\{FILE NAME OF KEY}
  User {USERNAME}
  Port {LOGIN PORT}
Linux
Step1: Generate SSH Key Pair
| |
Step2: Create SSH Folder
| |
Step3: Copy SSH Public Key To The Remote Host
| |
Step4: Login To The Remote Host With SSH Key
| |
Use The Proxy(Linux As Proxy/Jump Server)
Step1: Create SSH Private Key Login On The Proxy/Jump Server
On remote proxy/jump server
| |
Step2: Copy The Private SSH Key To The Local Host
Then, on local host(windows). Copy the private key to the local host
| |
Step3: Connect To Remote Target Server
Connect to remote target server with windows local host.
| |
VSCode Config
Again, if you type the login SSH command to the VSCode, it will generate the following configuration automatically.
Host {CUSTOMIZED HOST NAME}
  HostName {RAMOTE TARGET HOST NAME/IP}
  ProxyCommand C:\Windows\System32\OpenSSH\ssh.exe -q -W %h:%p {PROXY SERVER IP}
  User {LOGIN USERNAME ON THE TARGET HOST}
  IdentityFile .\.ssh\{FILE NAME OF KEY}
Something Important
Since Window seperate the directory with \ but Linux /, all the paths on Window should add " " across the path.
Set up Github SSH Key
Step1: Generate SSH key
Type command
| |
If you want to specify some features, you can use the following options
-t: Specify cryptosystem-b: Specify the number of bits of the key-C: Specify the comment
| |
Then, follow the guide to complete the setting.
| |
Step2: Store Keys Into SSH Agent
Launch the SSH agent in the background.
| |
Add keys into the SSH agent.
| |
If you don’t save the key in the default file ~/.ssh/id_rsa, please replace the path ~/.ssh/id_rsa with the the custom file.
Step3: Copy Public Key To Create Github SSH Keys
Show the public key
| |
The you may see your public key
| |
Copy the content and paste it to the Github SSH keys.
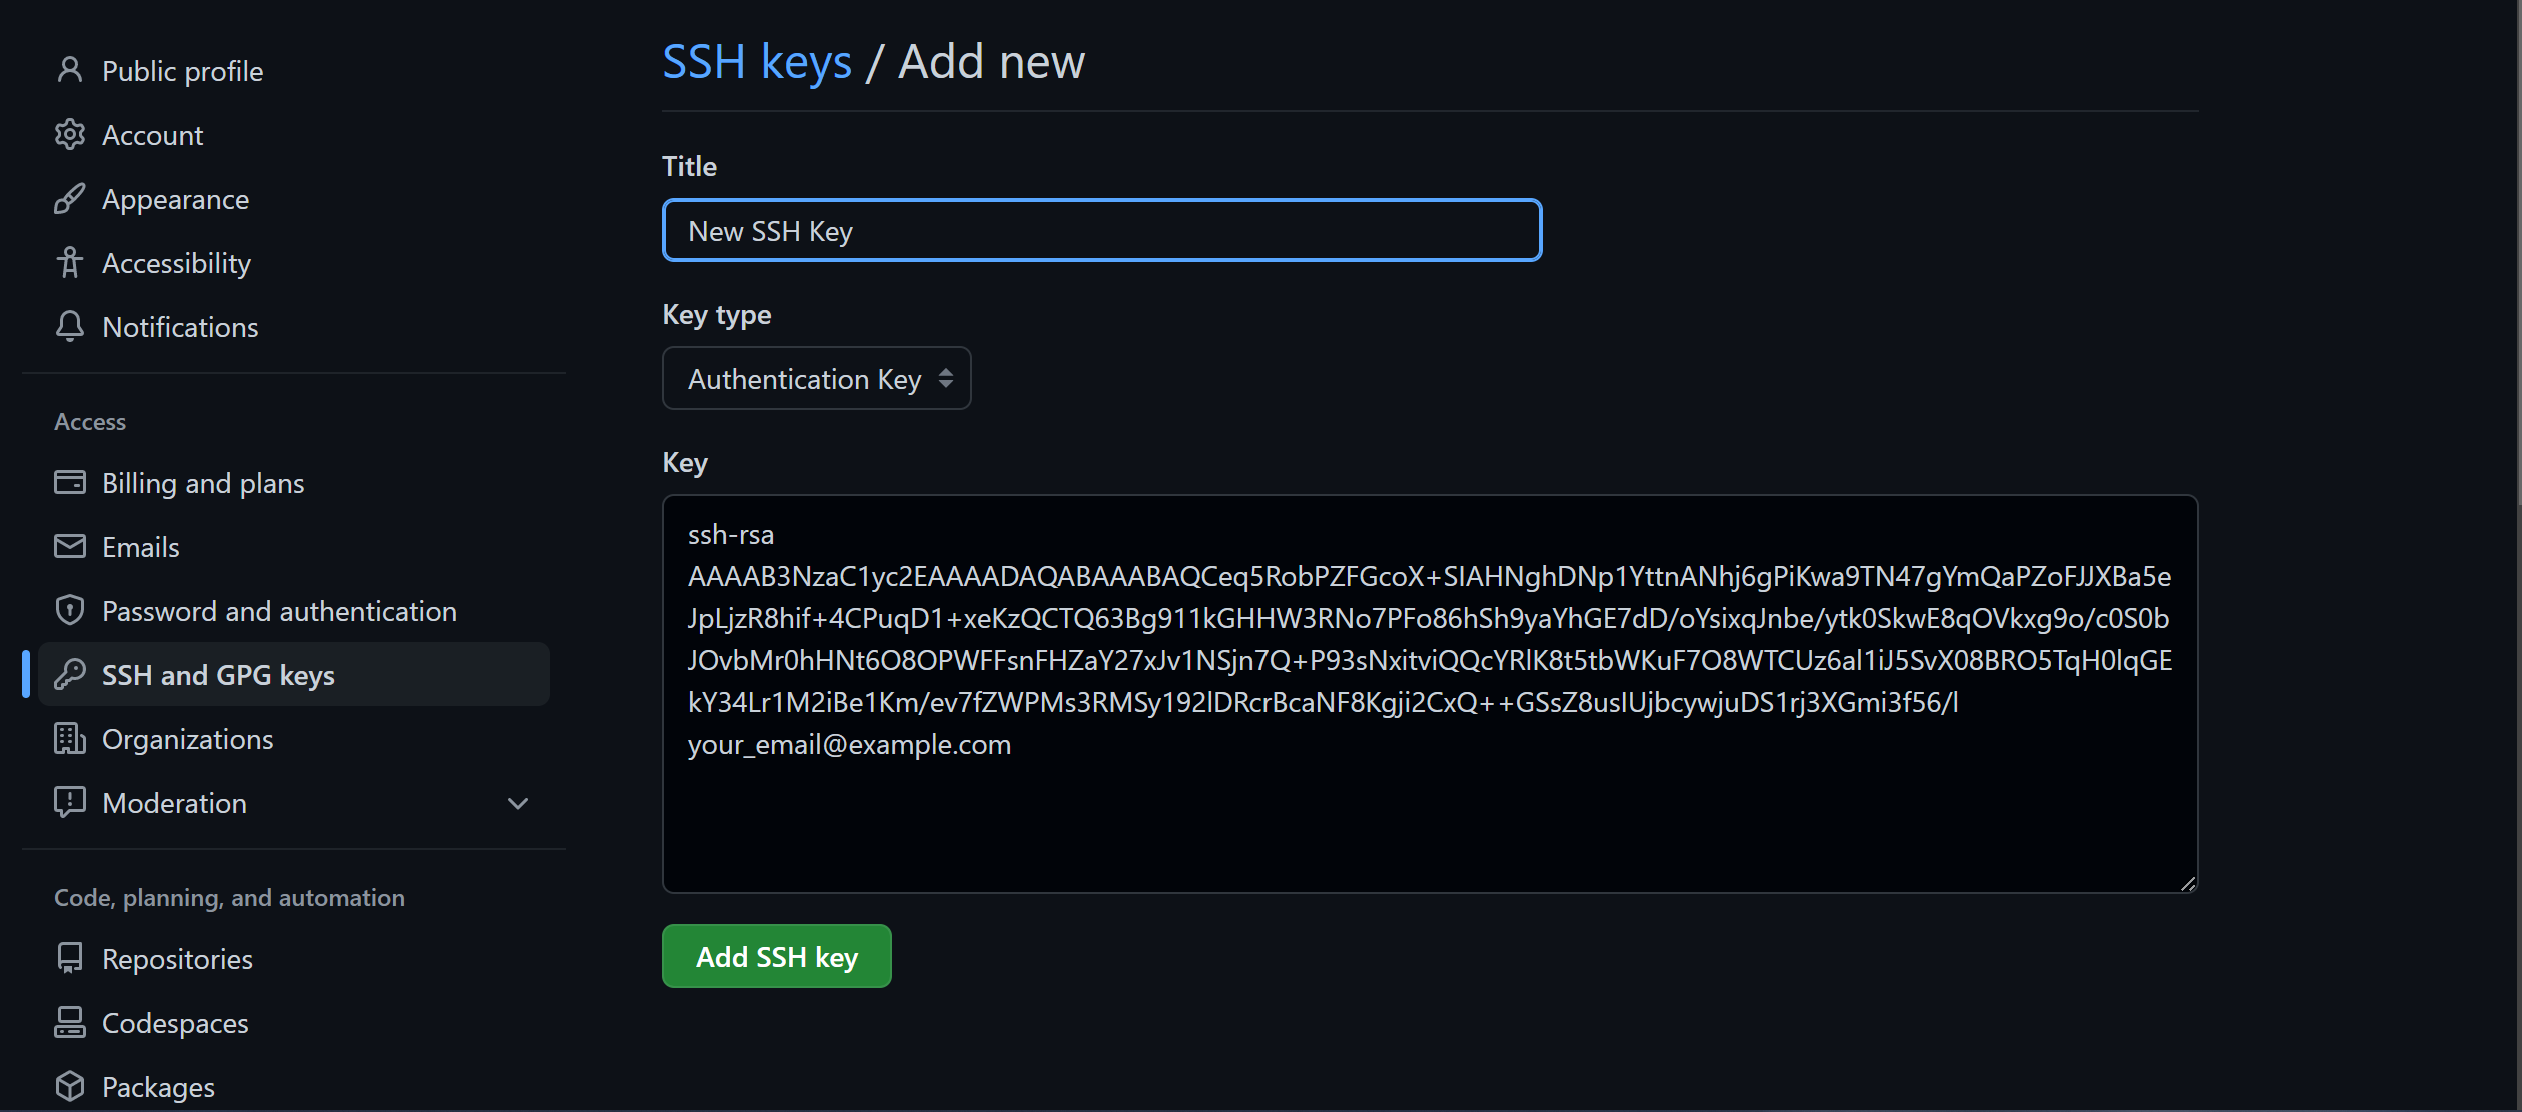
Then, click Add SSH Key to add the SSH key.
Step4: Test SSH Keys
| |
If you see the following message, that means you’ve added the SSH keys to Github successfully.
| |